Projects

How to Install a Lawn with Hydroseed

When a new house is built, it often doesn't feel like home until the lawn is filled with bright green grass.  Oftentimes, owners of new homes wait a little bit to start growing their lawn because they're overwhelmed with finalizing the construction of their new house, moving furniture, and making sure everything was built to their liking.  What they may not know, is how quickly and easily a lawn can be installed using hydroseed.  Hydroseed is a mixture of water, grass seed, and paper that is blended to a pulp and then sprayed onto fresh dirt to grow into grass.  This is the most efficient way to grow grass for a number of reasons.  First, since the seed is continuously sprayed, large areas can be seeded quickly and consistently.  Secondly, hydroseed can be easily customized with any types of fertilizers, grass seeds, and nutrients to create a lawn that is best suited for a particular property.  Finally, because the seed is mixed to a pulp, it sticks to the ground and protects itself - no need to throw down hay on top or risk any seed blowing away in the wind.

Let's take a look at the process and see how its done!
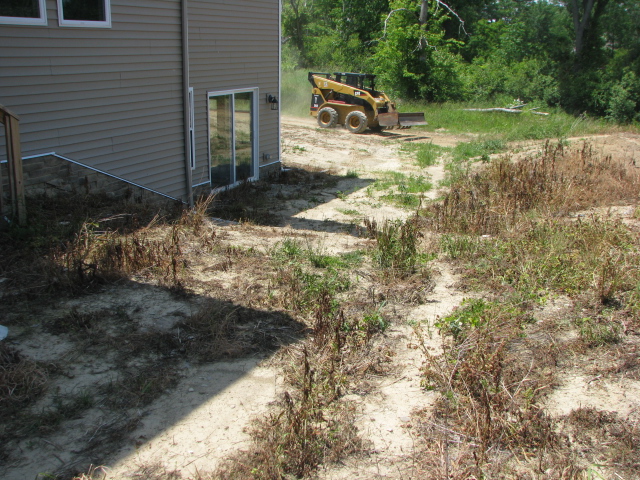
Prep Work

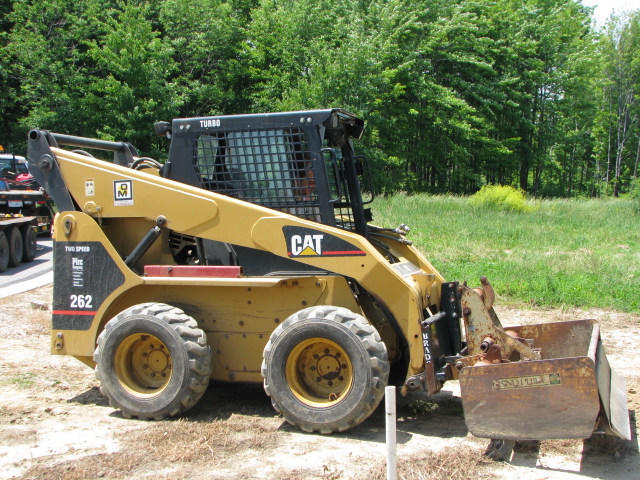
After seven months of construction, this house is left with rocks, dirt, and weeds around the whole property.  The first step to a new lawn is to remove the rocks and weeds and level the ground.  We had to add fill dirt to make the ground completely level.  A skidsteer loader and tractor made light work of the task.  After the yard was properly graded, we added some nutrient-rich top soil to accommodate speedy growth for healthy grass.
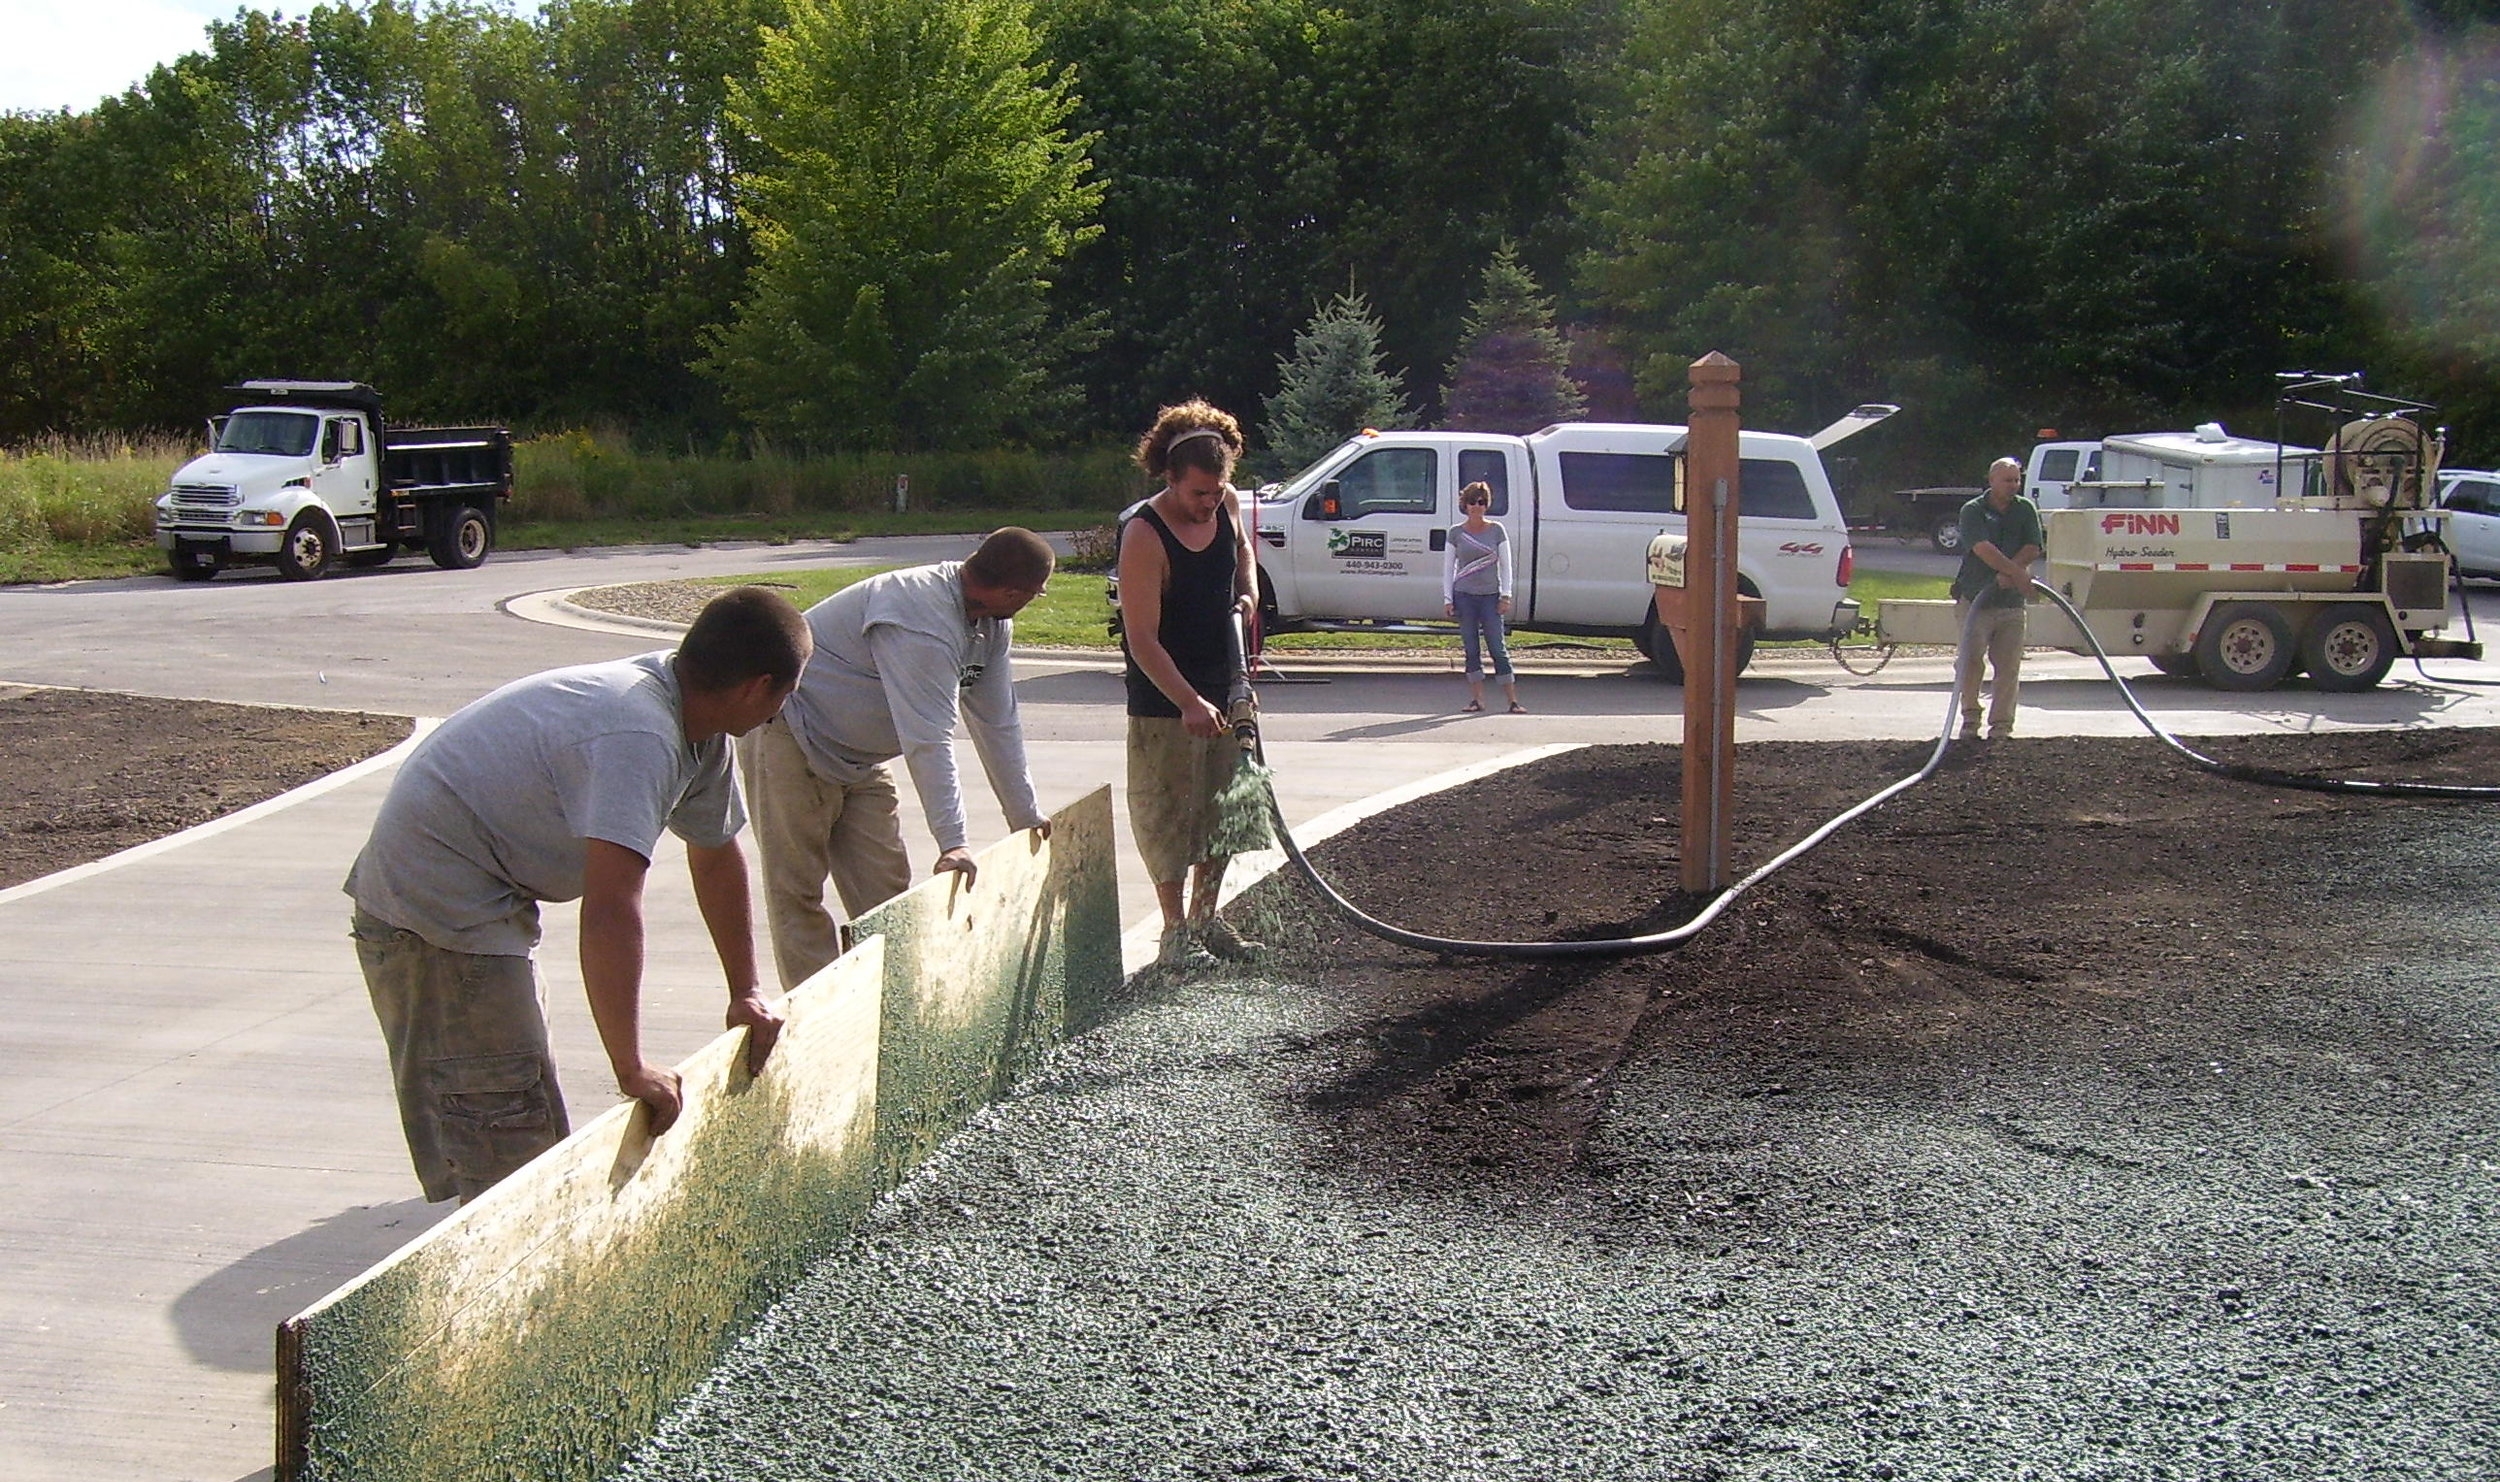
Seeding

When the prep work is complete, the hydroseeder arrives and our hydroseed technicians get to work spraying the lawn.  A team of 3 people can accomplish the task in very little time.  Typically, a foreman operates the nozzle and directs the rest of the crew to help guide the hose to where it needs to go.  When spraying against buildings or concrete, the crew uses a board of plywood as a shield to make sure the seed only goes where it is supposed to.  When the lawn is done being seeded, a daily watering is all is needed.
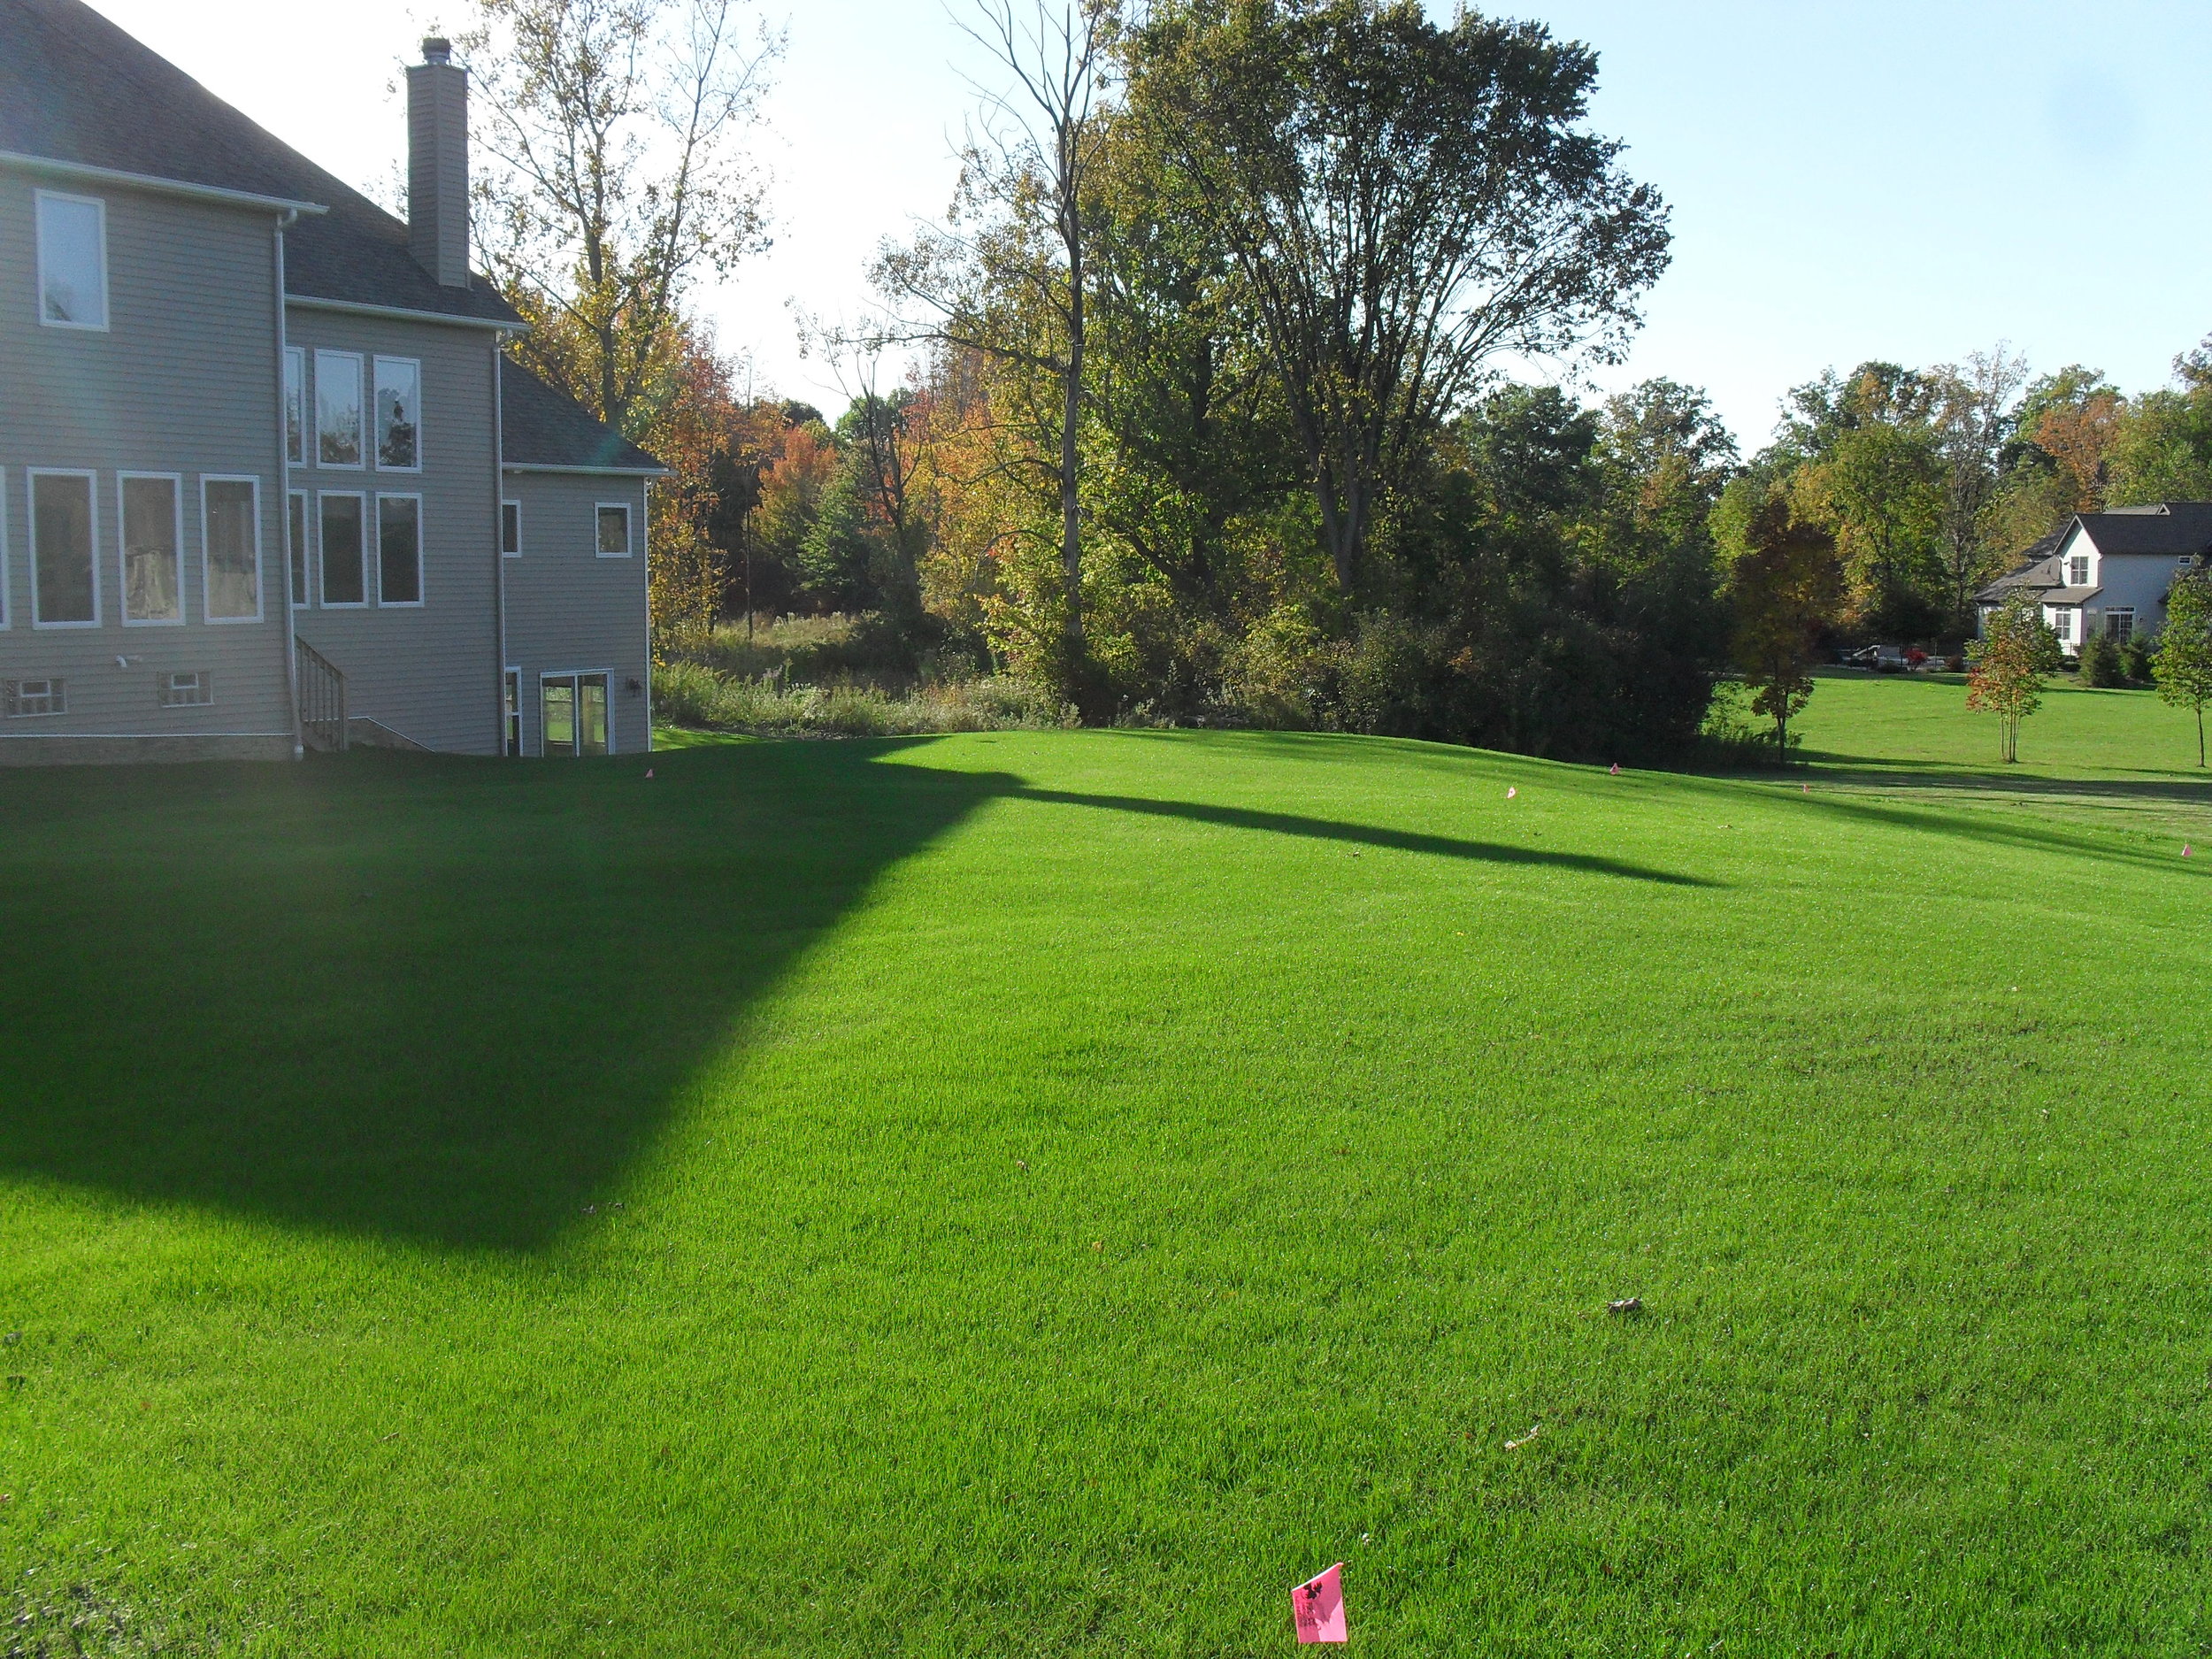
A Little Patience

After a few days, the grass will start to sprout.  After a few weeks, the lawn will look quite full, but will fill out for a few months as grass blades start to grow in thicker and thicker.  If done properly, with a good hydroseed mix, the lawn should grow in without weeds.  A monthly treatment program will keep the lawn looking perfect year after year.

Project Overview - Lawn and Bed Installation

Every famous work of art, whether it be a painting or a sculpture has started from a blank canvas, a solid block of marble, or another form of undeveloped material from which an artist will create his masterpiece.  Simply put, an artist works best when provided with the opportunity to start from scratch and has free reign to develop an original idea in his head and create something out of nothing.  As landscapers, most of the projects we do are enhancements, additions, or modifications to an old landscape project that already exists.  While we enjoy this challenge (and we think we do a pretty good job at it), we relish the opportunity to start from a blank slate and create something from nothing.  Much like a painter would step back and look at a canvas and envision his painting, a new house with a fresh pile of dirt is all we need to get our creative juices flowing!

The small flower pot on the front step is displayed as a sign of hope for this yard in its current state!

To exemplify this scenario, two newlyweds who moved into a new house asked us to help them kick-start their married life with a new lawn and flower bed.  After meeting with them and discussing their needs, we couldn't be happier to work with them on the project!  Before the project got started, the front yard was nothing but a bunch of unwanted weeds.  

"Please don't damage the siding" is all we could think when we look back at this picture!

At first it seemed it would be a daunting task to remove it all, but with the right equipment, we were down to the dirt in no time.  Once the yard was cleared out, we were able to start focusing on developing our work of art and working toward the final result.  Whenever we do a project like this, we start with the beds, and then do the lawn second.  

Once the ground was leveled, we put down a thick layer of fresh topsoil where the bed would go.  Company owner, Anthony, spent some time orchestrating the process, but is never afraid to get his hands dirty, himself.

Once we had the shape of the bed formed, it was time to pick out some plants and see how they would fit.  The homeowners chose some simple plants that would be easy to maintain and wouldn't overcrowd the bed when they fill out.  After adding a few boulders and finalizing the layout, we installed the plants, threw down some mulch, and got going with the next phase of the project.

Once we had the bed finished, we couldn't wait to see the end result.  All we had to do was lay down topsoil on the rest of the yard and then it was time for some grass!  Using nutrient-rich topsoil is important for any new lawn.  This is arguably the most important step of the whole process!

Jordon preparing the sloped yard for the new lawn!

The layer of topsoil is complete!

Typically, when we install a new lawn, we will analyze the area to be seeded to determine which type of seed will work best as well as what type of fertilizers will ensure proper growth.  Usually, we mix these materials together with water into a hydroseed and spray it on the dirt, but to speed things up for the eager homeowners, we agreed to search for sod that would work well for their yard.  After a day of laying sod and touching up the project, the homeowners were thrilled to have a great looking yard that complemented their new home!

As the plants grow, they will fill in the space nicely.  Two arborvitae will frame the door while tree to the left will grow to about 10 feet in the next few years.  Homeowners added their own touch with a few pumpkins!

Project Overview - Retaining Wall

As much as we can appreciate large, mature trees, sometimes they can get in the way.  Here is an example of a beautiful house with neatly trimmed plants hidden behind three large evergreen trees.  At one point, these trees were much smaller and served the house and its landscape well, but they have outgrown the yard and are taking away from the property's curb appeal.  The customer recognized that the trees needed to go and called Pirc Company to take care of the job.  Once the trees were removed, we met with the homeowner and drew up a plan to fill the newly empty space with an attractive design.  

To take advantage of the sloped yard, the customer agreed it would be best to build a retaining wall to create a dramatic, three-dimensional effect.  To ensure a durable wall that will last a lifetime, we used Versa-Lok stone blocks, a premium building material that looks natural and is built to last.  The homeowners wanted the wall to compliment the house, so we added a layer of red blocks to tie in with the red brick house.  After the wall was completed, we topped off the project with a young tree, several large natural stones, and some fresh mulch.  Overall, the design is simple, classic, and will stand the test of time.  Furthermore, it truly compliments the house and dramatically increases curb appeal.  The final result is one that the homeowners can be proud of for years to come!